People come up to me all the time and say "Is dentistry as glamourous as it's made out to be? Is it really better being a tooth mechanic than it is a rock star?" I have to tell these admirers that it isn't all glitz and glam, supermodels and celebrities. Sometimes we actually have to do real work. So I thought maybe some folks might like to get a glimpse into what it is that we do all day.
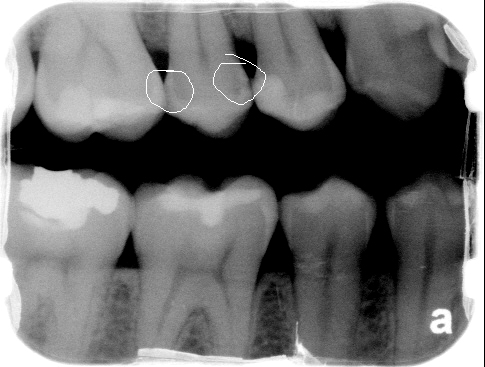


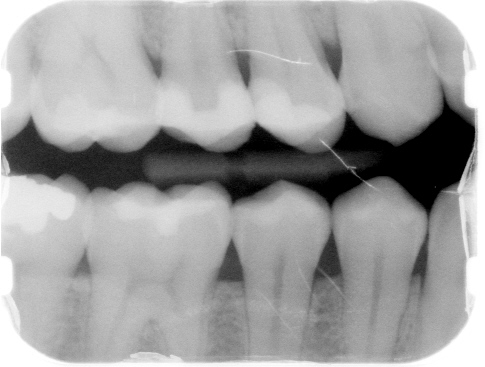
Here is one of my patients from this morning. The first picture is of a bite wing x-ray, which we take usually every six months at the cleaning visit. It is a great x ray for detecting decay in between the teeth and under old fillings. I have circled in white two cavities he has on tooth #4. The tooth immediately to the right of it on the x ray is tooth #5. It has an old white filling with some some decay around it. Today we replaced that old filling on #5 and filled the two cavities on tooth #4.
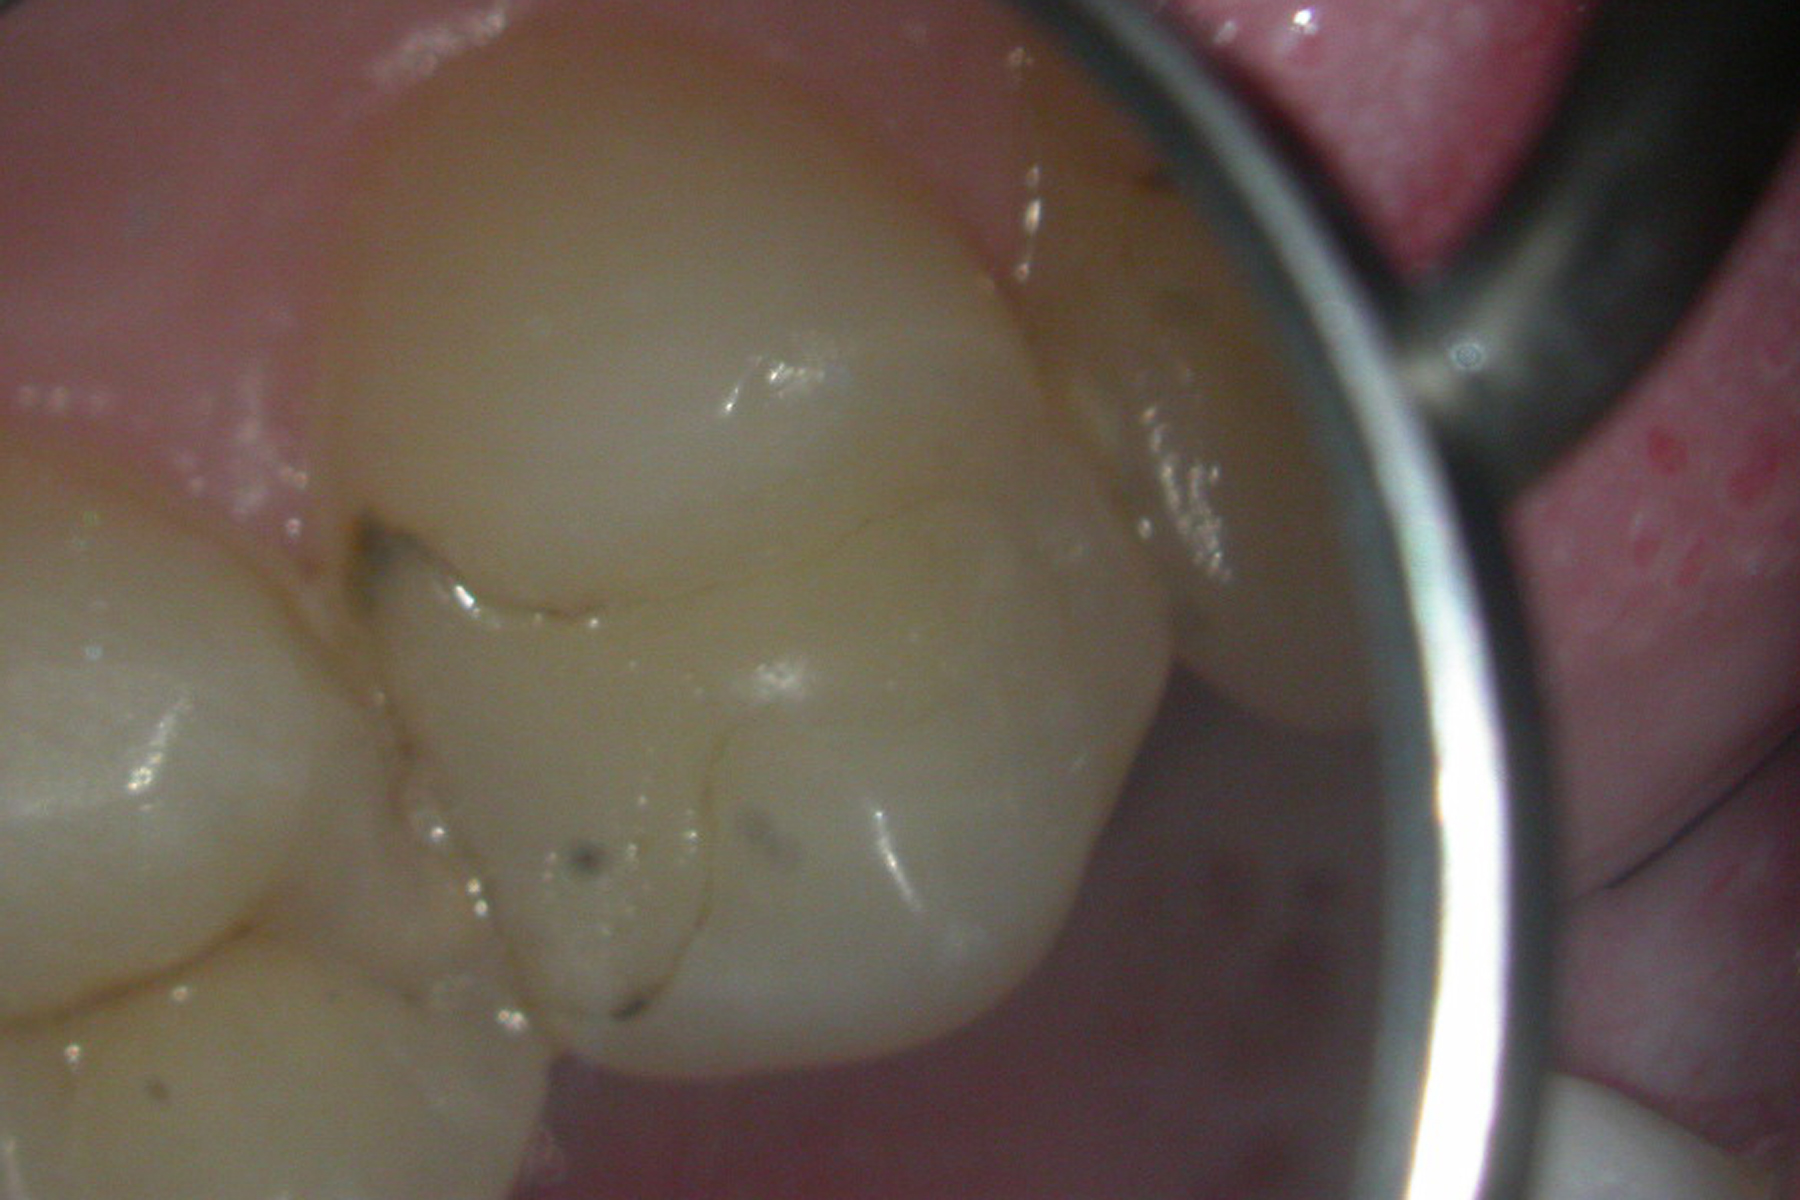
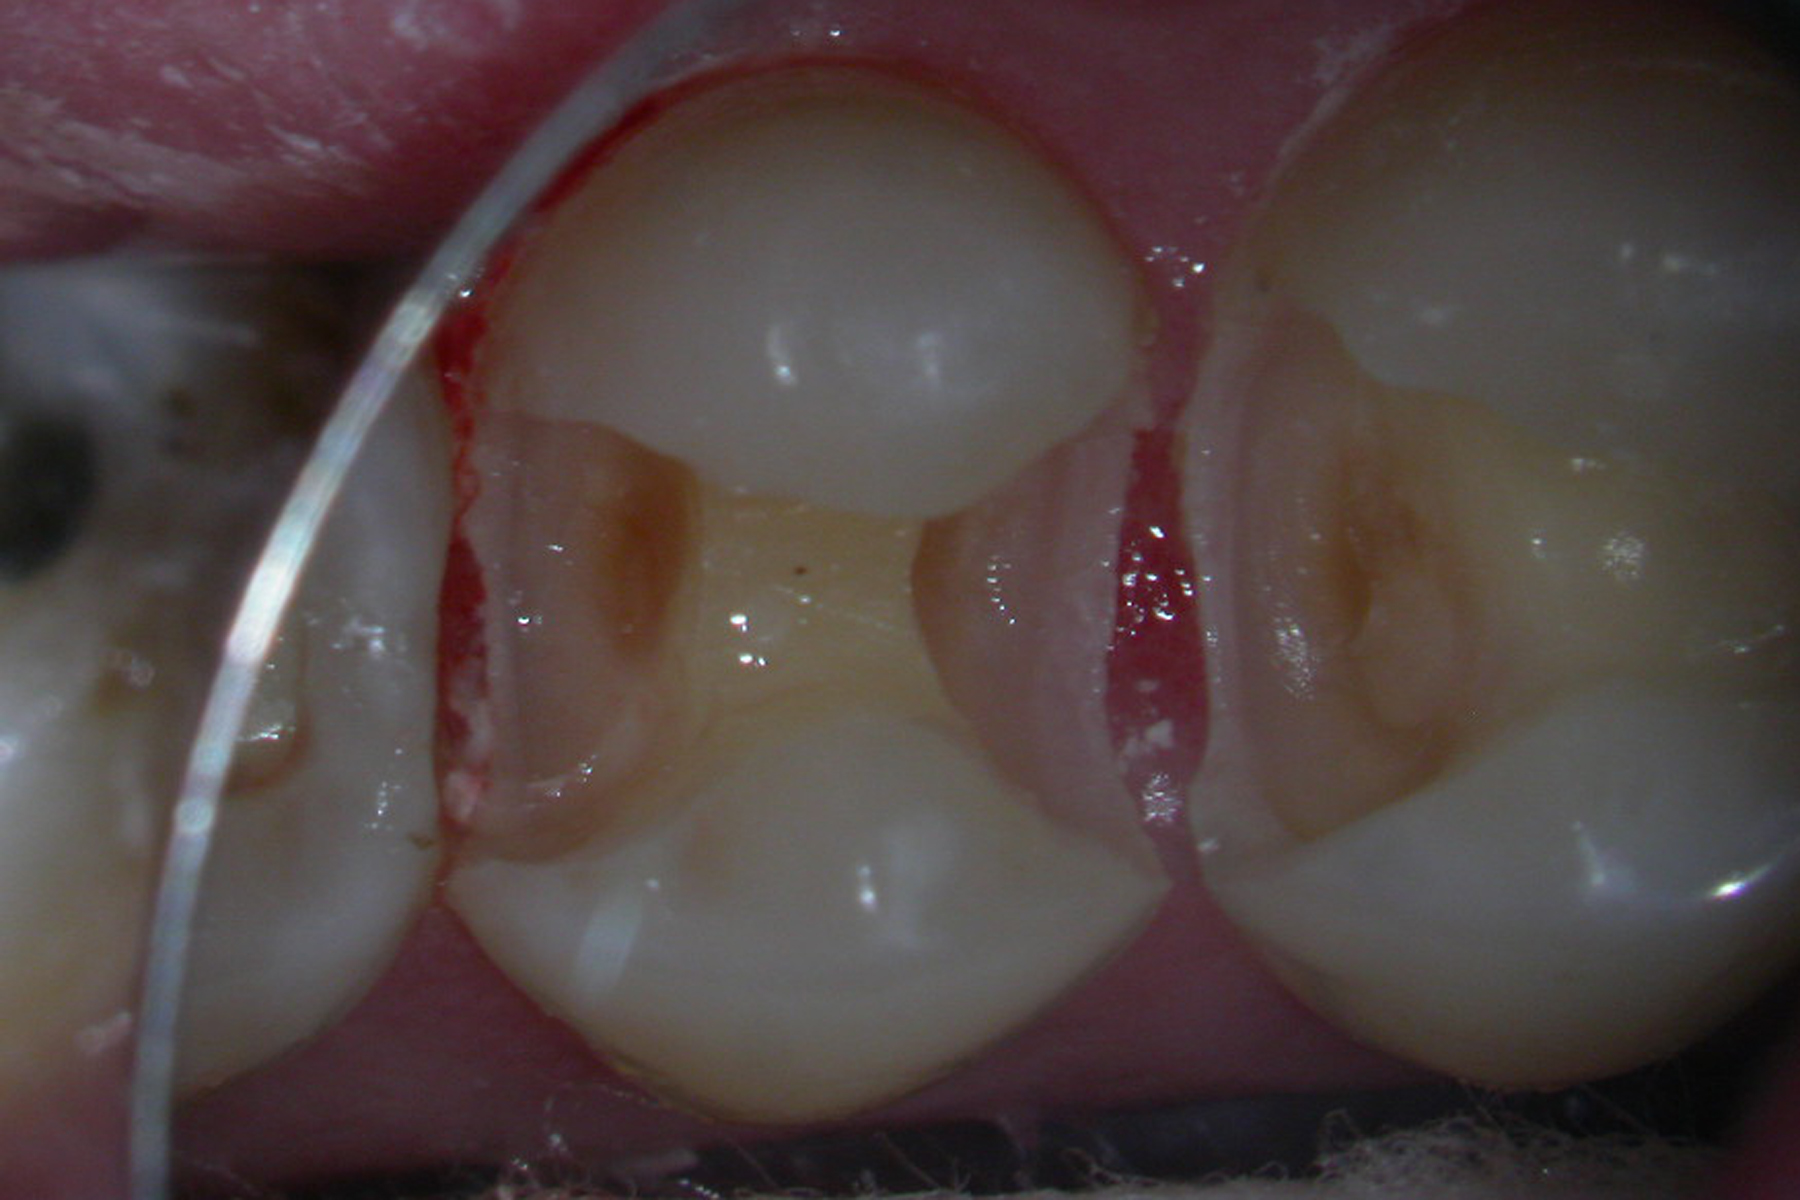
Here's the photo of tooth #5 with the stain being the part of the filling that was leaking, causing the cavity under and around the filling.
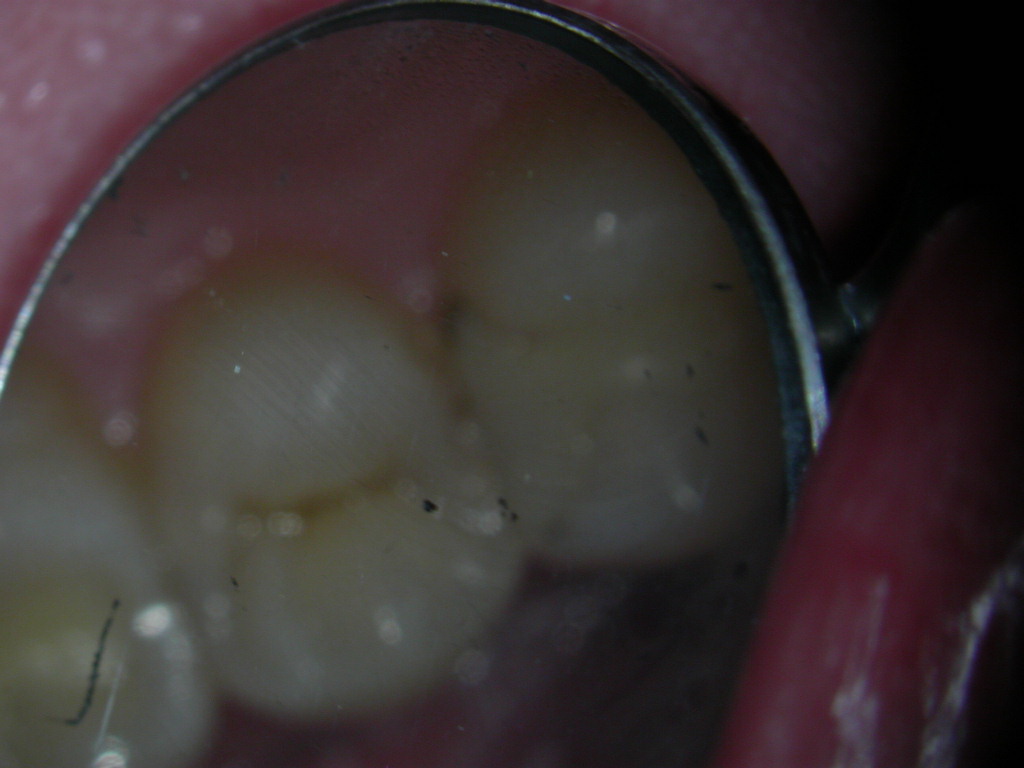
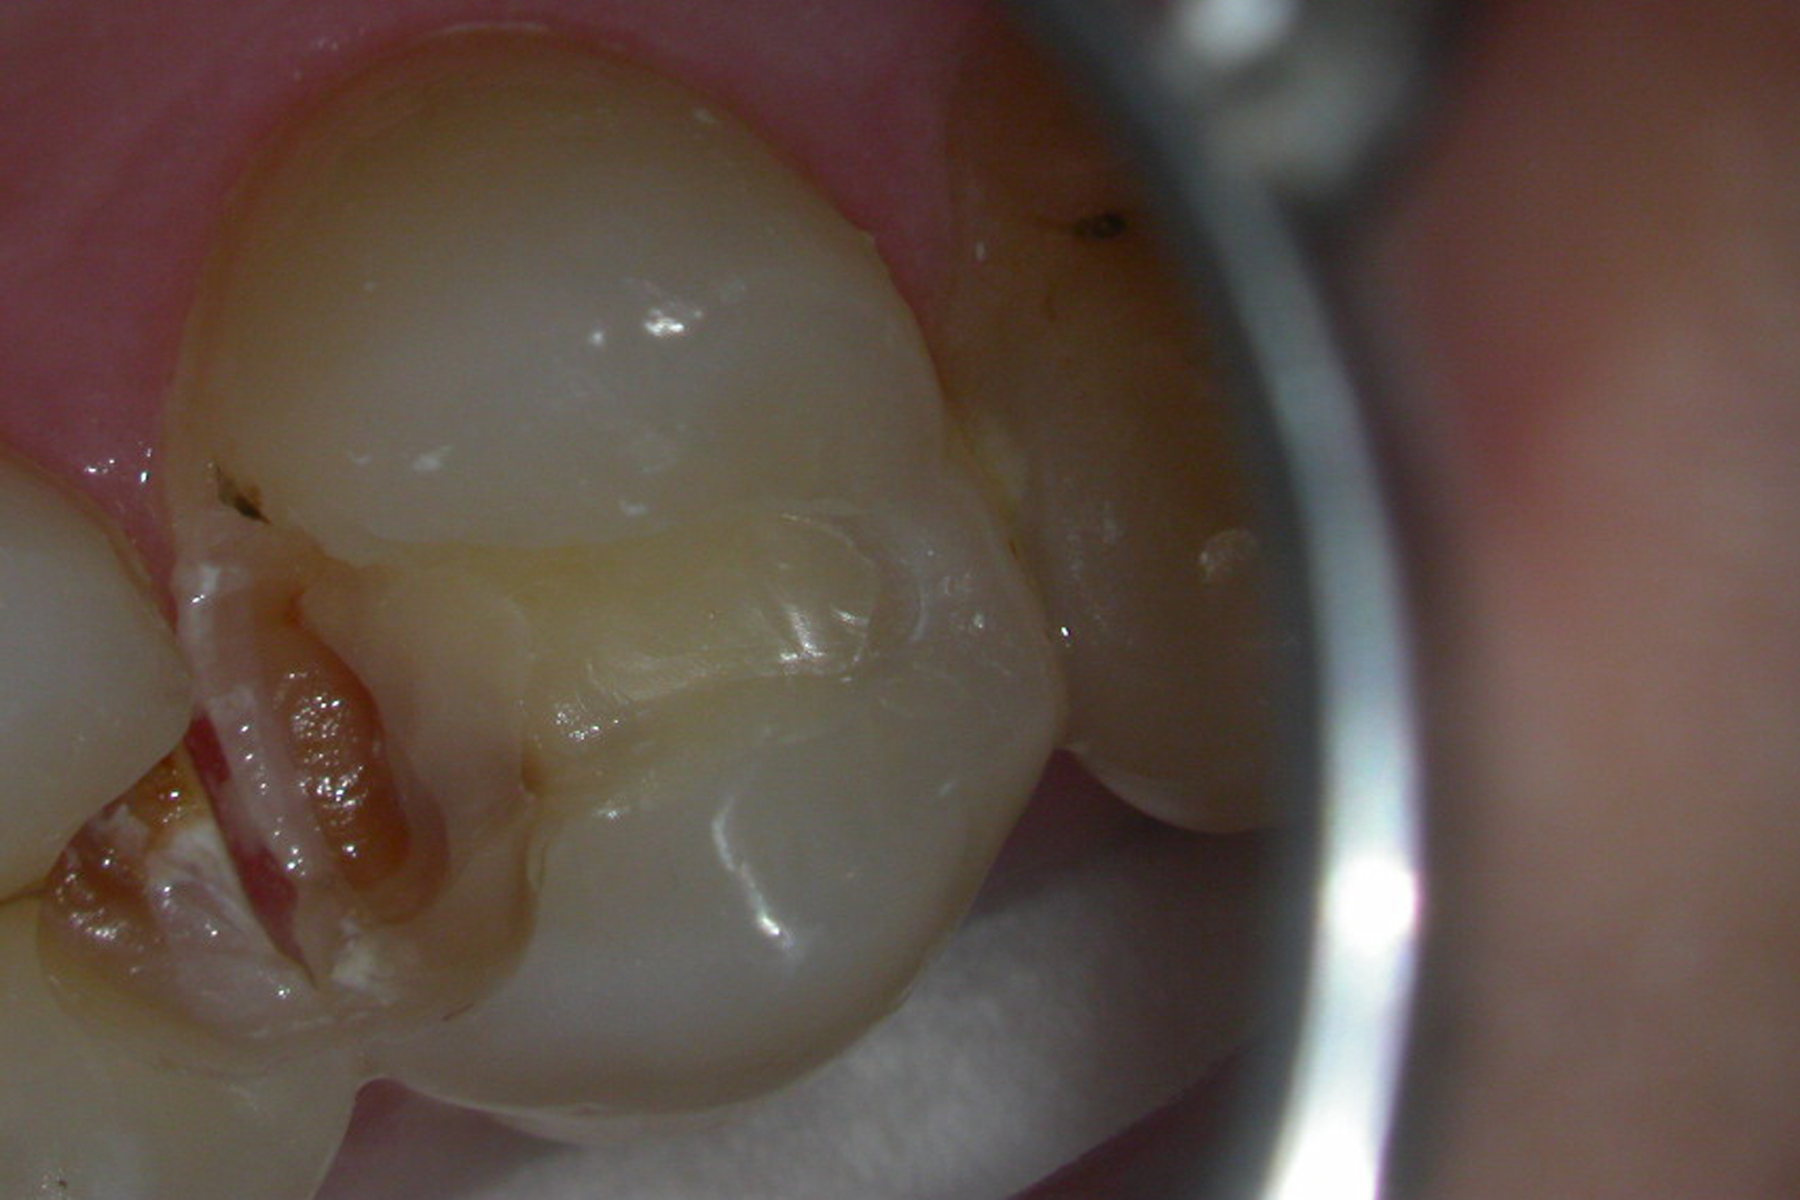
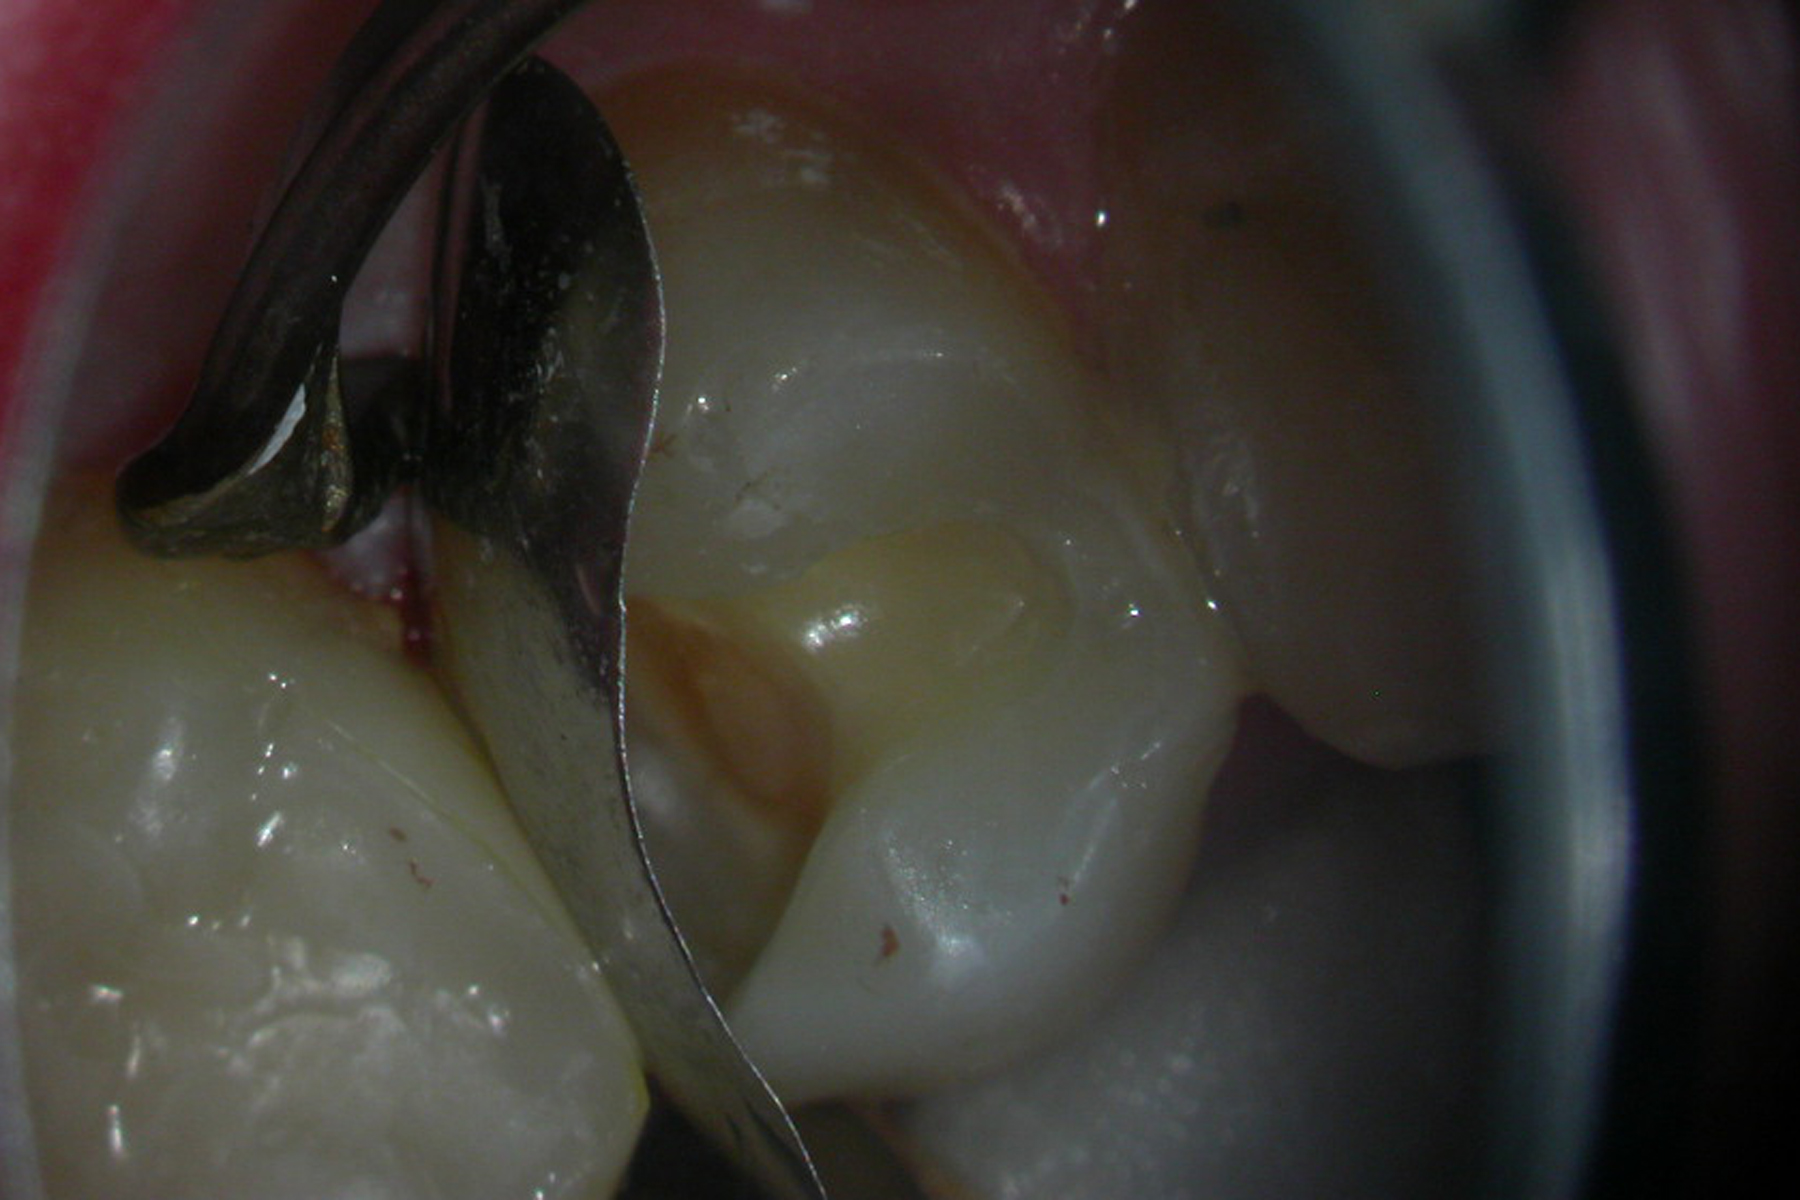
Here's tooth #4, the one with cavities on the x-ray. We really can't see the decay too well on this photo, which is why we take bite wings. Some cavities are only detectable by taking bite wings.
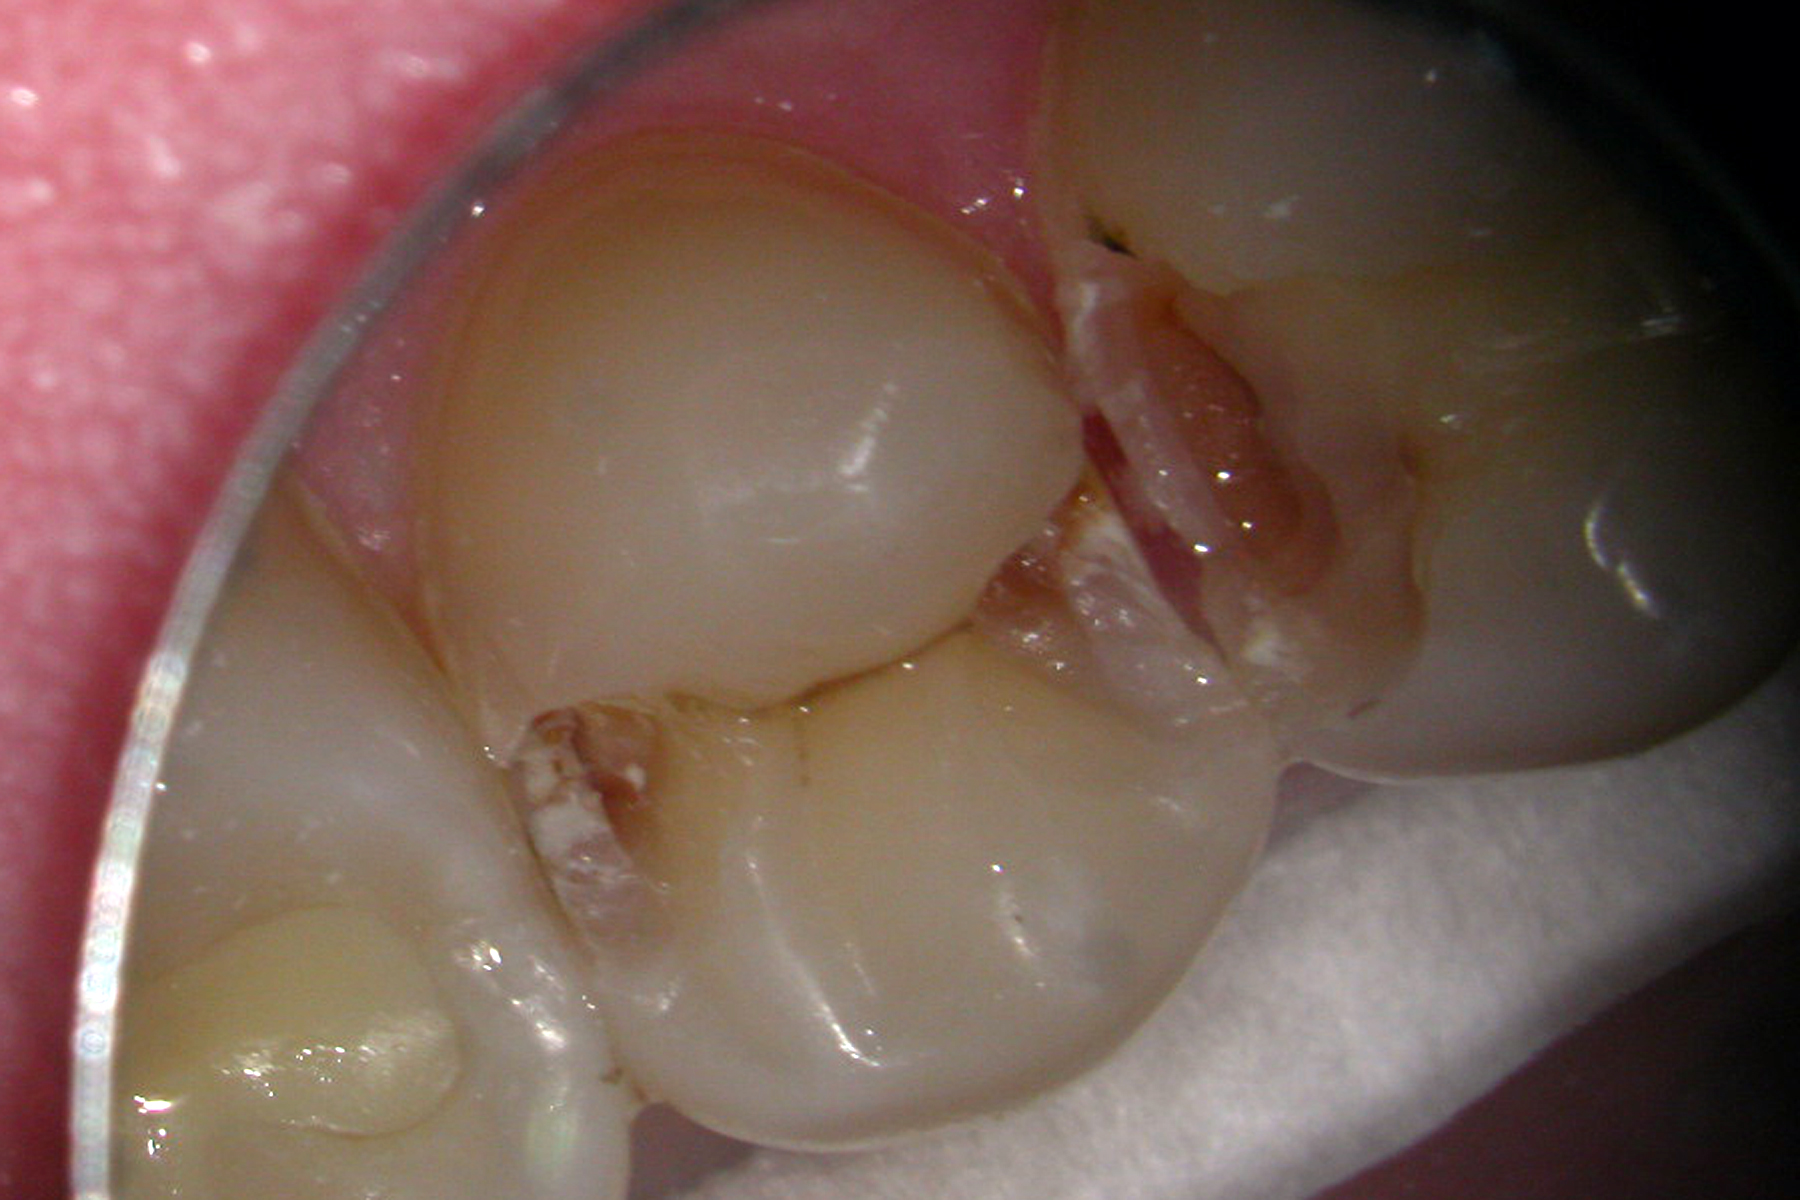
Here's #4 with the decay exposed but not yet completely cleaned out. I use a high speed hand piece (the "dental drill") and a round bur to clean out the mush.
Here's a better shot of #5
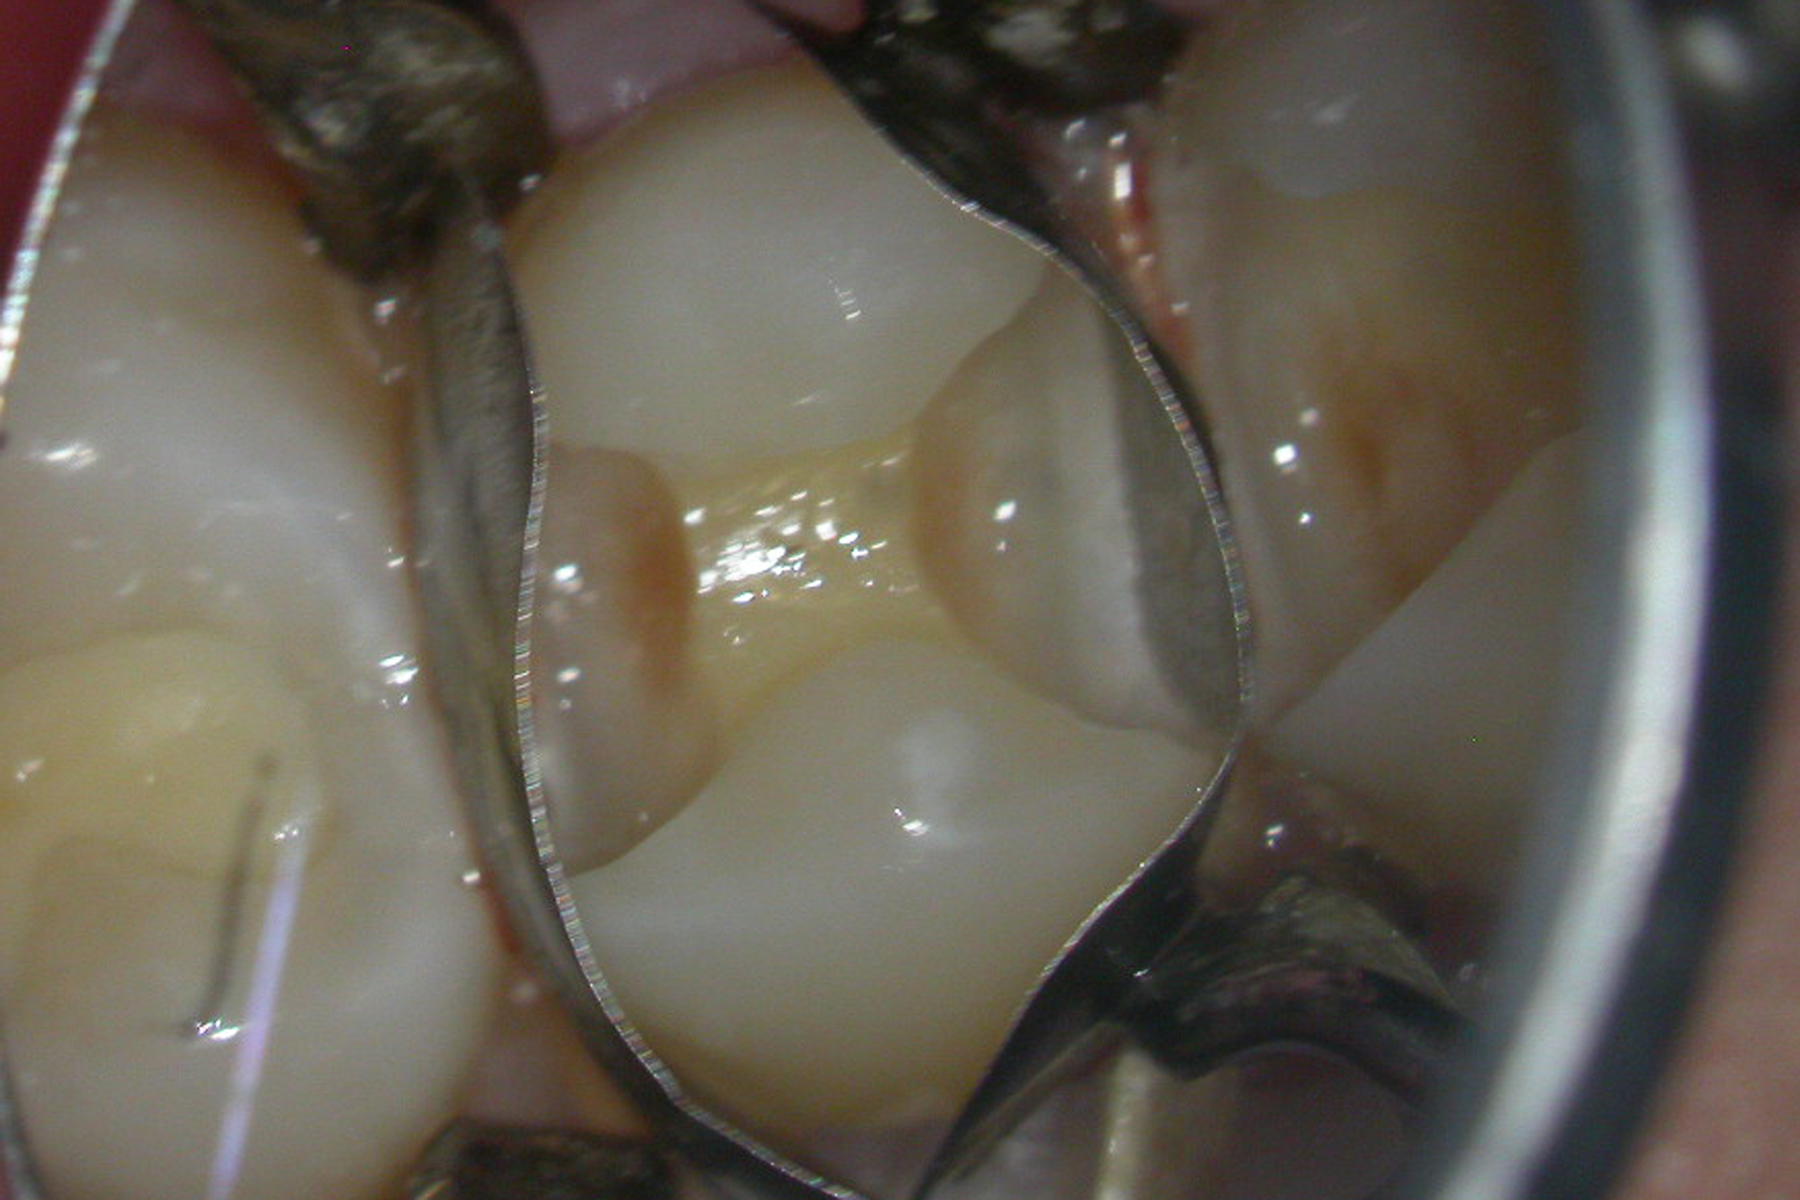
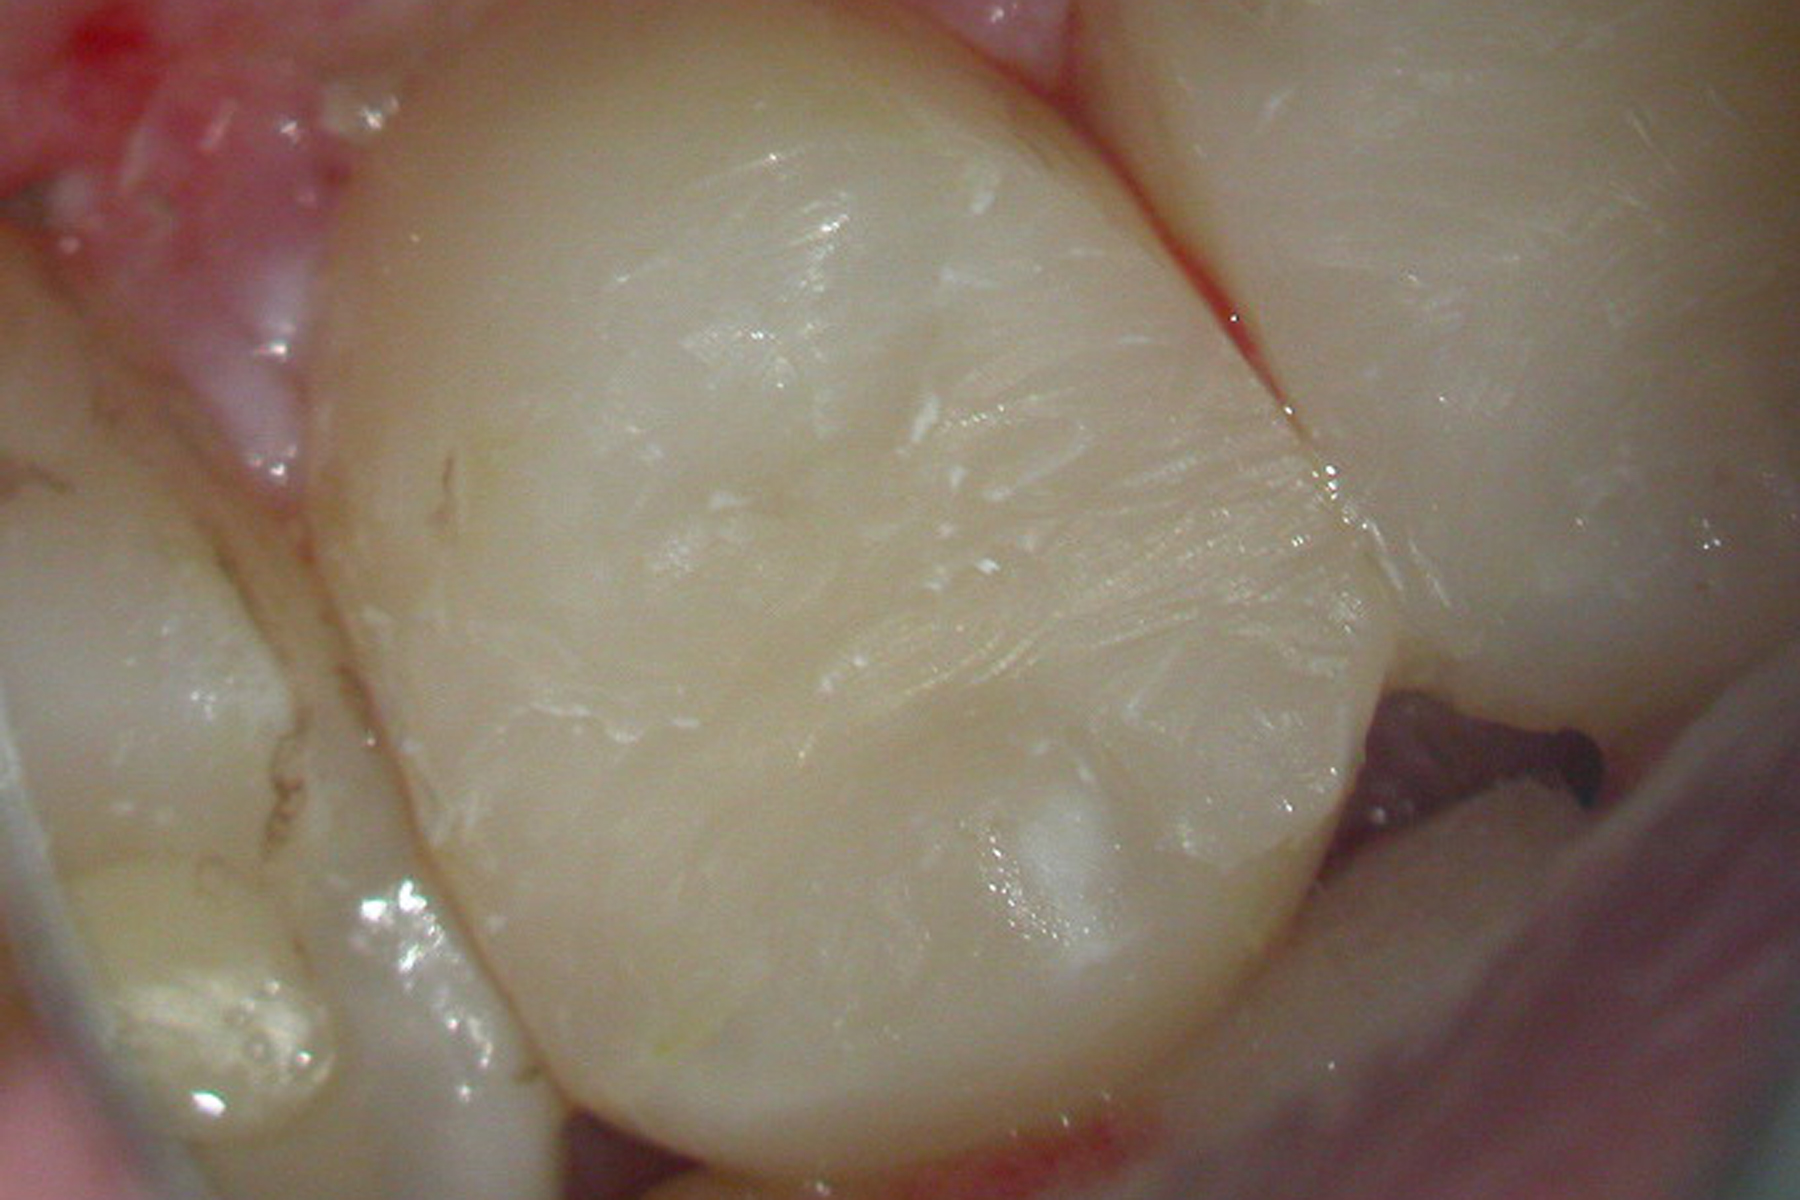
The teeth with all the decay cleaned out
The decay is all cleaned out. The orange/brown color you see is stain left on the dentin by the decay. It is what we call "affected dentin", while decayed tooth is called "infected dentin."
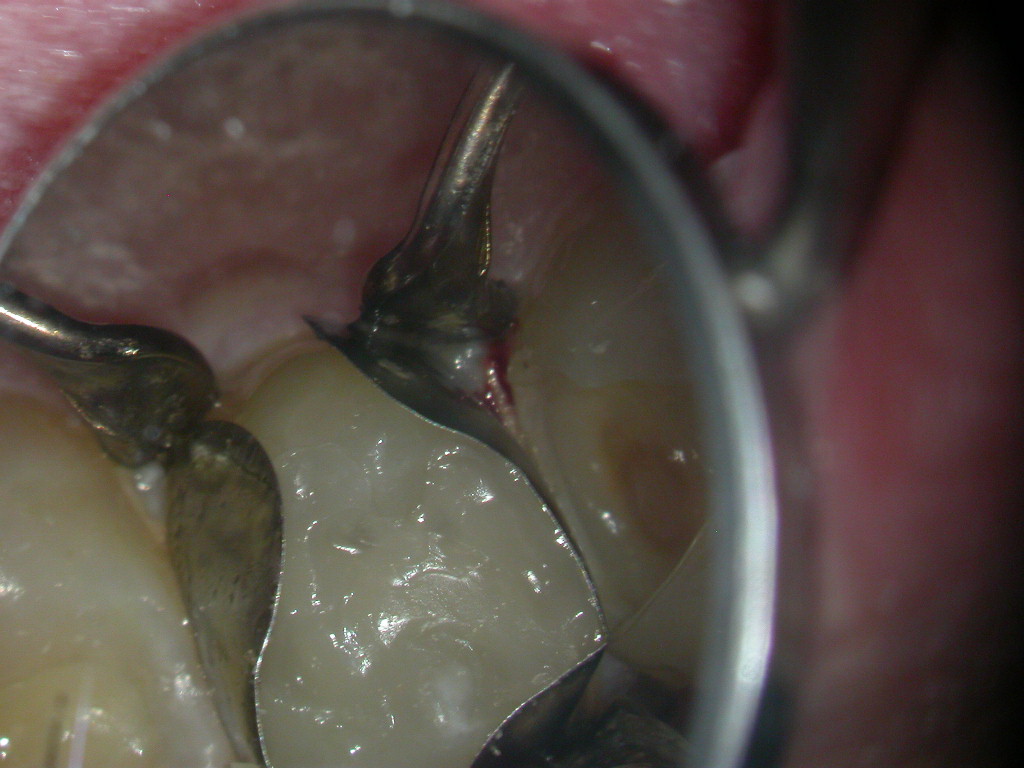
Here is tooth #4 with sectional bands in place. When a cavity involves the in-between surfaces of a tooth, we have to place a matrix band like this to keep the filling contained and to give it proper shape.
An adhesive is applied to the tooth and then is light-cured.
The first layer of filling material is flowed into the deepest parts of the cavity and then light cured. This process is repeated several times, with 1-2 mm increments of filling material being placed, packed, shaped, and then light-cured.
Here's the tooth all filled up, prior to removal of the matrix bands.
The bands are removed and the process is repeated for tooth #5.
After the bands are removed, the fillings are given their rough shape. Then we check the bite by having the patient bite on carbon paper and slide the teeth all around. We adjust the places where the fillings are hitting when they shouldn't be.
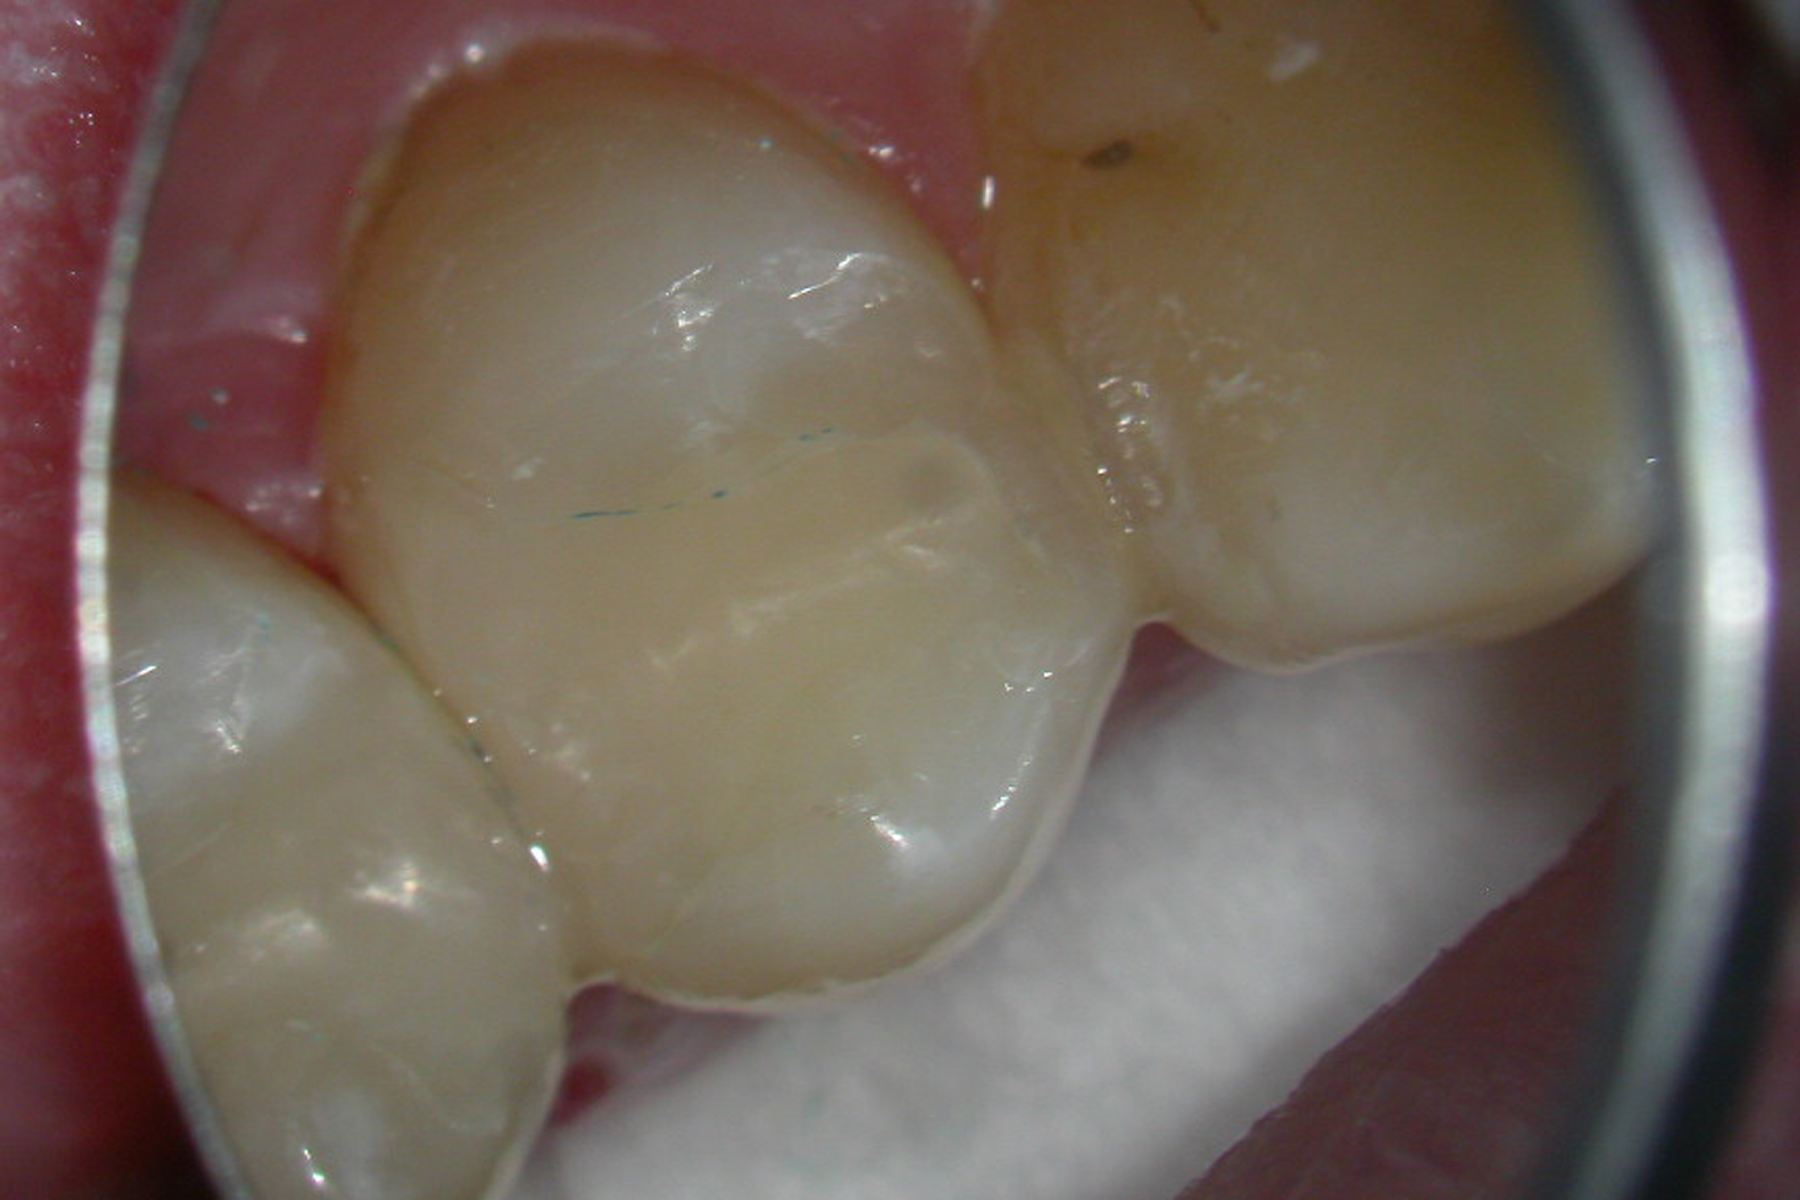
Tooth #5 after it is all shaped and polished.
X ray taken after fillings were done. Please ignore all the scratches.

Them sure is purty teeth doc. Say, I didn't see no big green rubber thing on them teeth the way my dentist always does. He swears and sweats and hollers and throws his tools around and then, after an hour or so, he makes his nurse put the thing on. He says "a proper stomatologist always uses the damn dam."
I think he drinks a bit.
Hey, Peter, my politically-challenged amigo! How have you been?
About the rubber dam.... This particular patient just paid for "Standard Level" service. It includes the filling and whatever adjustments that are needed for 30 days. Had he opted for "Gold Club Level" I would have actually anesthetized him and given him the option of the rubber dam, and had he paid for the "Platinum experience" I would have done all the same things offered in "Gold" but just charged him twice as much.